

The Simple Way to Check and Replace Your AC Air Filter (And Why It Matters)
Knowing how to check and replace your AC air filter is one of the easiest — and most impactful — maintenance tasks you can do as a homeowner in Northern New Jersey. Here is a quick overview of the full process:
- Turn off your HVAC system at the thermostat or circuit breaker.
- Locate the filter at your return air grille, air handler, or furnace cabinet.
- Remove the old filter and inspect it for dirt, damage, or discoloration.
- Insert the new filter with the airflow arrow pointing toward the blower motor.
- Restore power and verify airflow from your supply vents after a few minutes.
That is the short version. If your filter looks gray, you cannot see light through it, or your energy bills have quietly crept up, it is almost certainly time for a change.
A clogged filter does more than just let dust build up. According to the U.S. Department of Energy, a dirty air filter can increase your energy bills by up to 15% — and over a full year, that can add roughly $82 to your electric bill without you ever noticing why. For homeowners running their systems hard through New Jersey’s hot, humid summers, filters can load up faster than the calendar suggests.
The good news: this is a fix most homeowners can handle themselves in under ten minutes. This guide walks you through every step — from finding your filter to choosing the right type for your system — so you can keep your HVAC running cleanly and efficiently all year long.
Why You Need to Know How to Check and Replace Your AC Air Filter
Your air conditioner does not just cool the air; it moves a massive volume of it — typically between 1,000 and 2,000 cubic feet per minute. To keep that air clean and protect the sensitive machinery inside your air handler, every cubic foot must pass through the air filter first.
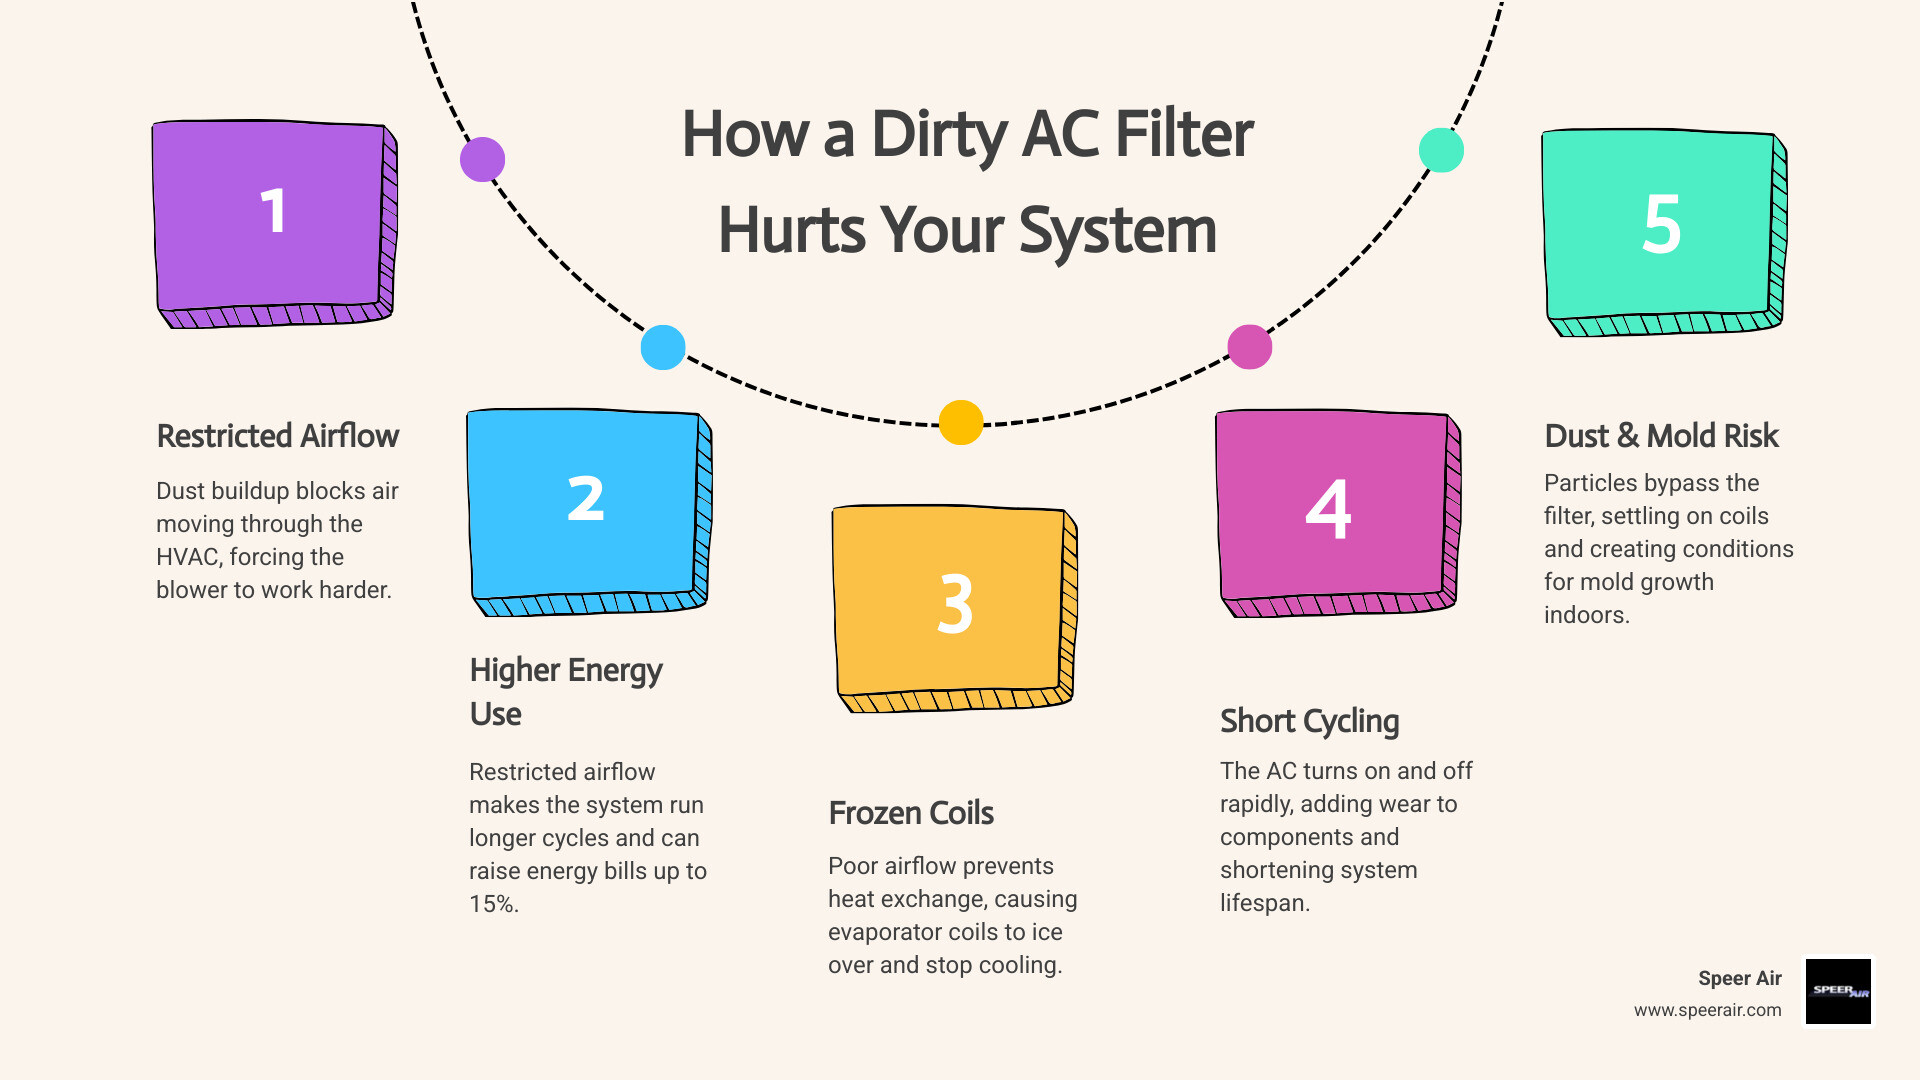
When that filter is neglected, a chain reaction of system issues begins. Understanding How Airflow Affects Your Air Conditioner’s Performance is key to realizing why a clean filter is so critical. Here is what happens when airflow is restricted by a thick layer of dust, pet hair, and airborne debris:
- Spiking Energy Bills: When airflow is restricted, your blower motor has to work twice as hard to pull air through the clogged filter. This draws more electricity, forcing your utility bills upward.
- Frozen Evaporator Coils: Your air conditioner cools your home by blowing warm air over a freezing-cold evaporator coil. The refrigerant inside the coil absorbs the heat. If a dirty filter blocks the warm air from reaching the coil, the temperature of the coil drops below freezing. Condensation on the coil quickly turns to ice, blocking airflow entirely and potentially causing liquid refrigerant to flood back and destroy your compressor.
- Short Cycling: Modern HVAC systems are equipped with safety sensors designed to detect when internal temperatures or pressures go out of safe limits. If a clogged filter causes the system to overheat or the coils to freeze, the safety switches will shut the air conditioner down prematurely. It will then restart a few minutes later, repeating this rapid on-and-off cycle (short cycling) and causing massive wear and tear on your equipment.
- Decreased System Lifespan: An air conditioner that is constantly fighting restricted airflow will wear out years ahead of schedule. While a well-maintained system can last 12 to 15 years, neglected systems often suffer major component failures (like a burned-out blower motor or a cracked heat exchanger) in as little as 8 to 10 years.
- Mold and Mildew Growth: A dirty filter traps moisture, organic dust, and mold spores. During humid New Jersey summers, this creates the perfect breeding ground for microbial growth. Once mold takes hold on your filter, the blower motor will happily distribute those spores throughout your entire home. For a complete strategy on keeping your system clean, check out The Ultimate Guide to Mold Proofing Your Home’s Air System.
Signs Your Filter Needs Immediate Replacement
While we recommend checking your filter on a regular schedule, your home’s air system will often tell you when it needs immediate attention. Look out for these common warning signs:
- Visible Dust and Debris: If you pull the filter out and it is covered in a thick, gray felt-like layer of dust, hair, and pet dander, it needs to be replaced immediately.
- Weak Airflow from Vents: If you stand under a supply register and can barely feel a breeze while the system is running, a clogged filter is the first suspect to check.
- The “Light Test” Failure: Hold your filter up to a bright light bulb or the sun. If you cannot see any light passing through the filter material, it is completely loaded with debris and is choking your system.
- Musty Odors: A damp, dirty filter will emit a stale, musty smell whenever the air conditioner kicks on.
- Spike in Allergy Symptoms: If household members are suddenly sneezing more, experiencing itchy eyes, or waking up with congested sinuses, your filter has likely stopped doing its job.
Finding and Sizing Your Filter Before You Begin
Before you can change your filter, you have to locate it. In some homes, this feels like a bit of a scavenger hunt because HVAC installers place filters in different locations depending on the home’s layout and system type.
Here are the most common places to find your AC air filter:
- Inside a Dedicated Filter Slot: This is the most common setup for central HVAC systems. Look for a narrow, metal slot with a hinged cover or slide-out door located right between your return ductwork and the main indoor air handler (which is usually in a basement, attic, utility closet, or garage).
- Behind a Return Air Grille: In many homes, apartments, or multi-level layouts, the filter is located behind a large wall- or ceiling-mounted intake vent (the return grille). These grilles are usually much larger than standard supply vents and are secured by thumbscrews or sliding latches.
- Inside the Blower Cabinet: On some older furnace or air handler models, you may have to remove the main metal access panel on the unit itself to find the filter resting just inside next to the blower motor.
Choosing the Right Size and Type for Your System
Once you find your filter, pull it out and look at the plastic or cardboard frame. You will see a set of numbers printed on the side, such as 16 x 25 x 1. This is the nominal size of your filter, which is a rounded-off measurement used by manufacturers so consumers can easily buy replacements.
The actual size of the filter is usually printed in smaller text next to it (for example, 15.5 x 24.5 x 0.75). Always buy your replacement filters using the nominal size. Using a filter that is even slightly too small will leave “bypass gaps,” allowing dirty air to flow around the edges of the filter and deposit dust directly onto your cooling coils.
You must also choose the right style of filter for your home’s needs:
| Filter Type | MERV Rating | Recommended Replacement | Pros | Cons |
|---|---|---|---|---|
| Fiberglass (Flat-Panel) | MERV 1–4 | Every 30 days | Extremely inexpensive; allows maximum airflow. | Captures only large particles; does nothing for allergies or dust. |
| Pleated Paper/Cotton | MERV 5–8 | Every 60–90 days | Good balance of price and filtration; catches mold spores and pet dander. | Restricts airflow slightly more than fiberglass as it fills up. |
| High-Efficiency Pleated | MERV 9–12 | Every 45–90 days | Excellent filtration; traps fine dust, pollen, and bacteria. | Can restrict airflow in older systems; must be checked frequently. |
| Electrostatic (Washable) | MERV 4–10 | Clean every 30–90 days | Reusable; environmentally friendly; uses static charge to trap dust. | Requires thorough cleaning and drying; lower fine-particle capture than high-end pleated. |
| Media Filters (Thick 4″–5″) | MERV 8–16 | Every 6–12 months | Outstanding filtration; lasts a long time; very low resistance to airflow. | Requires a specialized, professionally installed filter cabinet. |
When to Upgrade Your Filter or Indoor Air Quality Solutions
While it might be tempting to run out and buy the highest MERV-rated filter available, doing so can actually harm your HVAC system. A MERV 13 or 14 filter is incredibly dense. If your system’s blower motor was not designed to handle that level of resistance, the filter will act like a wall, severely restricting airflow and potentially freezing your evaporator coils.
If you want to significantly improve your home’s air quality, a standard 1-inch filter slot may not cut it. That is where professional upgrades come in. You can learn more about choosing the best filter setup in our guide on Air Filter Selection for Your Rockaway HVAC.
For homes with severe allergy sufferers, multiple pets, or high dust levels, we highly recommend looking into whole-house air cleaners. These systems are integrated directly into your existing ductwork and can capture up to 99% of airborne particles without restricting your system’s airflow. To see how these upgrades work, explore how to Improve Indoor Air with Whole Home Solutions and review our comprehensive services for Indoor Air Quality Rockaway NJ.
The 5-Step Guide to Replacing Your Filter
Now that you have located your filter slot, purchased the correct nominal size replacement, and understand how your system behaves, you are ready to perform the replacement.
Step-by-Step: How to Check and Replace Your AC Air Filter
Follow these five simple steps to safely and correctly complete your filter replacement:
Step 1: Turn Off the Power
Safety first! Never attempt to replace your air filter while the air conditioner is actively running. If the system kicks on while the filter is removed, the powerful suction of the blower fan can pull loose dust, debris, or even the new filter itself directly into the fan blades. Turn your system off at the thermostat. For added safety, you can flip the power switch on the side of your indoor air handler or turn off the dedicated breaker at your electrical panel.
Step 2: Open the Access Panel or Return Grille
Depending on your setup, open the filter slot door, unscrew the thumbscrews, or release the latches on your wall/ceiling return grille. Keep a damp rag or your vacuum hose nearby; opening the grille can sometimes shake loose a small shower of dust.
Step 3: Remove and Inspect the Old Filter
Slide the old filter out of its slot. If it is a disposable filter, place it directly into a trash bag to prevent dust from spilling back onto your carpets.
- If you have a washable filter: Take it outside. Use a vacuum attachment to clear away heavy debris, then rinse it thoroughly with a garden hose (avoid using high-pressure settings, which can tear the mesh). For a deeper clean, soak the filter in a 50/50 mixture of water and white vinegar for one hour to kill any mold or bacteria. Crucial Step: Allow the washable filter to air dry completely (typically 20 to 30 minutes) before reinstalling it. Putting a damp filter back into your system will guarantee mold growth.
Step 4: Check Airflow Direction and Insert the New Filter
Look closely at your new filter’s frame. You will find printed arrows indicating the airflow direction. These arrows must point in the direction that the air travels — which is always toward the blower motor or furnace.
- Tip: If your filter is in a wall or ceiling vent, the arrow should point into the wall or ceiling. If the filter is in a slot next to the furnace, the arrow should point toward the furnace cabinet. Ensure the filter slides in smoothly without buckling, bending, or forcing the frame. Check that any gaskets or seals on the cabinet door are aligned to prevent bypass gaps.
Step 5: Close the Panel and Restore Power
Securely latch the return grille or slide the filter cabinet door back into place. Turn your thermostat back to “Cool” or flip your breaker back on. Walk around your home and check a few supply vents to ensure you feel strong, clean airflow. Observe the system for a few minutes to confirm there are no unusual vibrations or whistling noises.
Common Mistakes When Learning How to Check and Replace Your AC Air Filter
Even though changing a filter is simple, a few common mistakes can lead to poor performance or system damage.
- Installing the Filter Backward: Standard pleated filters are designed with wire or cardboard reinforcement on the back (downstream) side to prevent the air pressure from collapsing the filter media. If you install it backward, the air pressure can pull the filter out of its frame, causing it to collapse into the blower compartment.
- Using the Wrong Thickness: If your system is designed for a 4-inch media filter, do not try to slide a thin 1-inch filter into the slot. It will leave massive gaps, allowing unfiltered air to bypass the media entirely. Conversely, never try to force a thicker filter into a slot that is too narrow.
- Leaving Gaps (Bypass Air): Ensure the filter fits snugly. Gaps as small as a quarter-inch can allow up to 30% of the air to bypass the filter, rendering it largely useless.
- Running the System Without a Filter: If you pull out a dirty filter and realize you don’t have a replacement on hand, do not run your AC until you buy one. Even a few hours of operation without a filter can coat your delicate evaporator coils in sticky dust, leading to expensive professional cleaning bills.
- Buying an Overly Restrictive Filter: Upgrading to a high-efficiency MERV 13+ filter on an older, single-speed blower system will choke your airflow, mimic the symptoms of a clogged filter, and likely freeze your system.
Frequently Asked Questions About AC Air Filters
Can I run my AC without a filter temporarily?
No. You should never run your air conditioning system without a filter, even for a short time. Your indoor air contains millions of microscopic particles of dust, skin flakes, pet dander, and lint. Without a filter, the blower fan will pull this debris directly onto the wet, cold surfaces of your evaporator coil. The dust will quickly turn into a sticky mud that blocks heat transfer, freezes the coil, and can burn out your blower motor. If you do not have a replacement filter, turn the system off until you can get one.
How often should I perform an AC air filter check?
We recommend checking your filter once a month, especially during peak summer cooling seasons or heavy winter heating seasons. While a standard pleated filter can last up to 90 days in a quiet home, certain factors require monthly replacements:
- Pet Owners: Homes with shedding dogs or cats should change 1-inch filters every 30 to 45 days.
- Allergy Sufferers: Changing the filter monthly prevents allergen buildup from re-circulating.
- Renovation Dust: If you are doing any drywall, wood sanding, or flooring work, check your filter weekly; construction dust will clog a filter in a matter of days.
Why does my new AC air filter whistle after installation?
A whistling noise usually means air is forcing its way through a very narrow gap at high speed. This can happen if the new filter is slightly too small for the slot, creating a “bypass gap” where air whistles past the frame. It can also happen if you installed a filter with a MERV rating that is too high for your system, causing the blower motor to pull air through the grille at an excessive velocity. If the filter is the correct size, you can often stop the whistle by applying a strip of foam weatherstripping tape along the edge of the filter frame or the cabinet door to create a tighter seal.
Conclusion
Regularly checking and replacing your AC air filter is the simplest, most cost-effective way to protect your heating and cooling investment, keep your utility bills low, and ensure your family breathes clean, healthy air. By taking ten minutes every month to inspect your filter, you can prevent major breakdowns and avoid unexpected repair calls during the hottest days of summer.
However, while changing your filter is an excellent DIY habit, it does not replace the need for professional system maintenance. Over time, dust can still accumulate on internal blower fans, electrical connections can loosen, and refrigerant levels must be checked to ensure peak efficiency.
At Speer Air, we have been keeping homes comfortable across Northern New Jersey and Northeast Pennsylvania since 1900. Whether you live in Rockaway, Denville, Morris County, or any of our surrounding service areas, our NATE-certified technicians are here to help. As a Carrier Factory Authorized Dealer, we bring unparalleled technical expertise to every tune-up, repair, and installation.
If your air conditioner is struggling with weak airflow, making unusual noises, or if you want to upgrade your indoor air quality with a whole-house air cleaner, don’t wait for a breakdown. Schedule professional air conditioning service in Rockaway with us today and keep your home comfortable all year long!