

What Separates a Good AC Installation from a Bad One — And Why It Matters More Than the Brand You Buy
What separates a good ac installation from a bad one comes down to a handful of technical decisions made the day your system goes in — and most homeowners never see them happen.
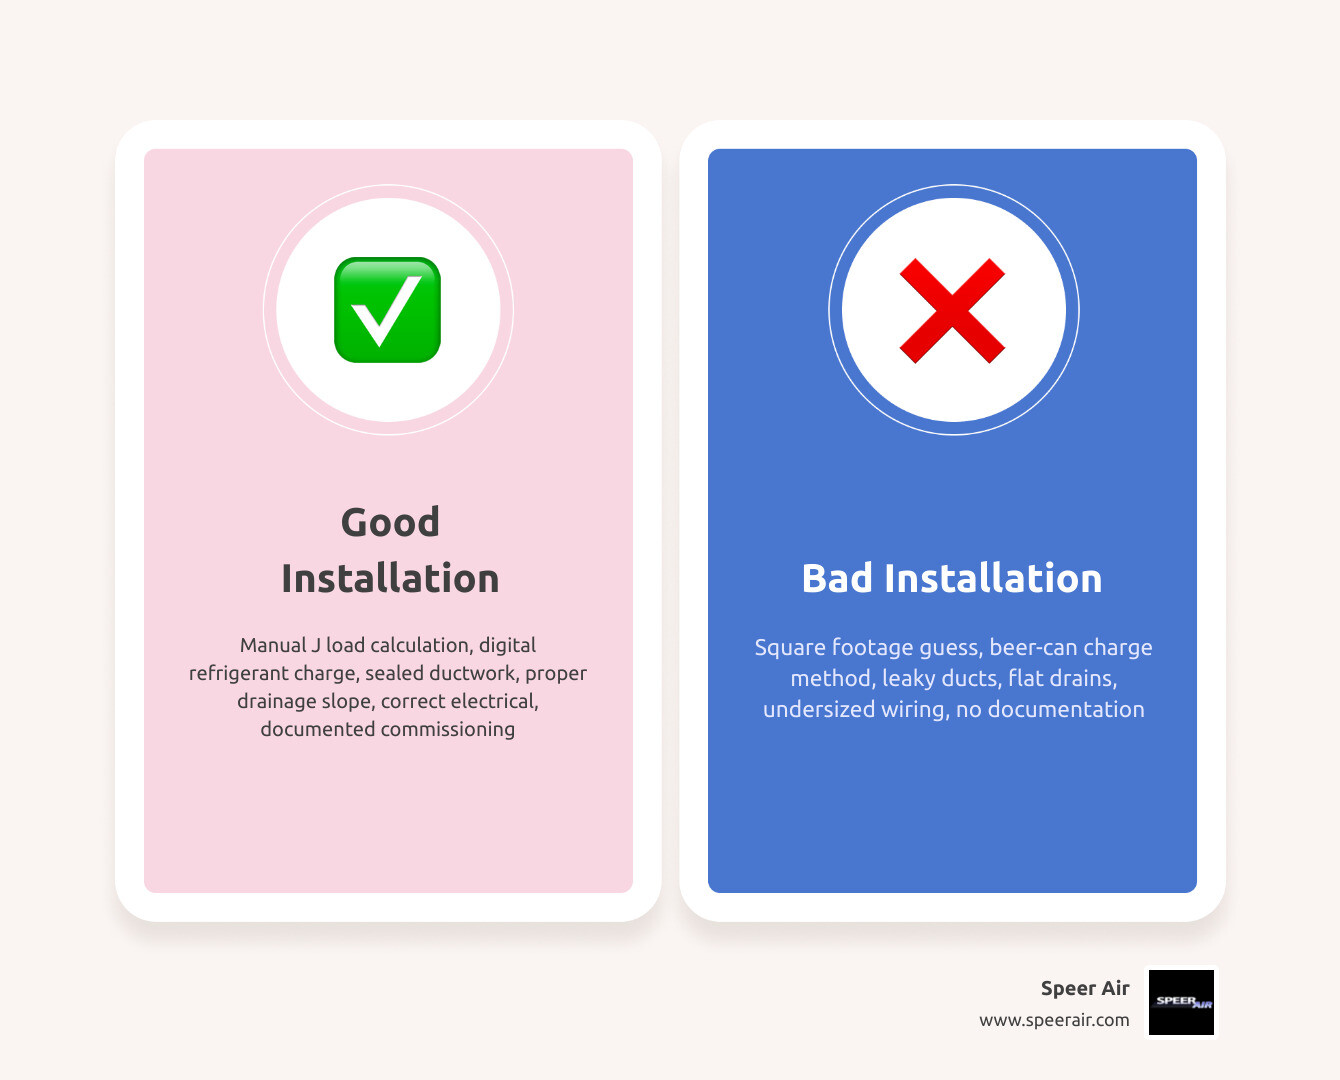
Here is a quick breakdown:
| Factor | Good Installation | Bad Installation |
|---|---|---|
| System sizing | Manual J load calculation | Square footage guess |
| Refrigerant charge | Measured with digital manifolds | Estimated by feel (“beer can cold”) |
| Ductwork | Sealed with fiber-reinforced mastic | Taped or left leaky |
| Drainage | Properly sloped with float switch | Flat or improperly pitched |
| Electrical | Correct breaker sizing, grounded | Undersized or loose connections |
| Thermostat placement | Interior wall, away from heat sources | Near vents, windows, or appliances |
| Documentation | Commissioning report provided | No records kept |
Most homeowners spend hours comparing brands and SEER ratings before buying a new AC system. That makes sense — it is a big investment. But here is what often gets overlooked: even the most energy-efficient system on the market can underperform, drive up your utility bills, and fail years ahead of schedule if the installation is done wrong. According to Consumer Reports data, about 19 percent of central AC systems purchased between 2009 and 2024 encountered at least one significant problem — and many of those problems trace back not to the equipment itself, but to how it was put in.
A properly installed system in a Northern New Jersey home should last 15 to 25 years. A poorly installed one often starts breaking down between years 8 and 12. That gap — sometimes a decade of extra service life — comes entirely from what happens during installation day.
Sizing and the Science of Load Calculations
The first step in any successful air conditioning installation happens long before the service truck arrives at your home. It begins with a clipboard, a tape measure, and a specialized set of calculations.
Historically, many contractors relied on lazy “rules of thumb” to size air conditioners, such as allocating one ton of cooling capacity for every 500 or 600 square feet of living space. This arbitrary approach is fundamentally flawed. It ignores the structural realities of your home, such as insulation quality, window placement, ceiling height, local climate, and even the direction your home faces.
To achieve a high-quality installation, a professional must perform an ACCA Manual J load calculation. This industry-standard protocol analyzes your home’s thermal characteristics room by room. It calculates exactly how much heat your home gains during the peak of summer and determines the precise cooling capacity required to maintain a comfortable indoor climate. For a detailed breakdown of how this process works in our local climate, check out our guide on How to Size a System for Northeast Summers.
Why Sizing Accuracy is What Separates a Good AC Installation from a Bad One
When a contractor bypasses a Manual J calculation, they almost always default to oversizing the system. On the surface, an oversized AC might sound like a good thing—after all, won’t a larger system cool your house faster?
In reality, an oversized air conditioner is a recipe for high utility bills, poor comfort, and early system failure. Here is why:
- Short Cycling: An oversized system blasts the home with cold air and quickly satisfies the thermostat. It then shuts off, only to turn back on a few minutes later when the temperature creeps up. This rapid on-and-off cycling is highly inefficient and places immense strain on the compressor.
- Poor Humidity Control: Air conditioners do more than lower the temperature; they also remove moisture from the air. To dehumidify effectively, the system needs to run for continuous cycles of at least 15 to 20 minutes so the evaporator coil can drop below the dew point and draw moisture out of the air. Short cycling prevents this, leaving you with a home that feels like a “cold swamp”—chilly but clammy.
- Shortened Compressor Life: The compressor is the heart of your AC, and starting up is the most stressful part of its operation. Frequent cycling wears out the compressor prematurely, often leading to a catastrophic breakdown years before the system should naturally retire.
- Higher Energy Bills: It takes a significant amount of electricity to start up an AC compressor. A system that cycles on and off constantly consumes far more energy than a correctly sized system that runs in longer, more efficient cycles.
On the flip side, an undersized system will run continuously without ever fully cooling your home on hot days, leading to high bills and accelerated component wear. Consumer Reports surveys indicate that 24 percent of central AC units stopped working as well as they should or altogether due to sizing and installation errors. Sizing accuracy is a foundational element of what separates a high-quality installation from a poor one.
Technical Precision: Refrigerant Charge and Vacuum Procedures
Once the physical equipment is set in place, the technical work of connecting the indoor and outdoor units begins. This requires handling the refrigerant lines with extreme precision.
An air conditioner does not actually “create” cold air; it absorbs heat from inside your home and transfers it outdoors using a specialized chemical refrigerant. For this heat transfer to happen efficiently, the refrigerant charge must match the manufacturer’s exact specifications down to the ounce.
Furthermore, before refrigerant can be introduced, the copper line set must be completely cleared of air and moisture. A professional installer does this by pulling a deep vacuum using a specialized vacuum pump and a digital micron gauge. The system must be pulled down to at least 500 microns and hold that level to prove that the lines are completely dry and leak-free.
If an installer skips this step or only runs their vacuum pump for a few minutes, moisture left inside the copper lines will react with the system’s synthetic POE oil. This chemical reaction creates highly corrosive acids that eat away at the motor windings, eventually causing compressor burnout within three to five years.
Precision Refrigerant Charging and the Danger of “Beer Can Cold” Guesses
A major red flag of a bad installation is a technician who charges the system by “feel.” This is often referred to in the industry as the “beer can cold” method, where the installer simply feels the suction line with their hand and adds refrigerant until the pipe feels as cold as a chilled beverage.
This subjective approach is highly inaccurate. Modern high-efficiency air conditioners are incredibly sensitive to refrigerant levels. Even a minor 5% charge imbalance can significantly reduce operating efficiency, increase energy consumption, and damage critical components.
- Undercharged Systems: If the system is even slightly undercharged, the evaporator coil will run too cold, which often leads to frozen coils. Ice builds up on the indoor coil, restricting airflow and eventually causing liquid refrigerant to flood back to the compressor, destroying it.
- Overcharged Systems: An overcharged system creates excessively high pressures within the compressor. This can lead to “liquid slugging,” where liquid refrigerant enters the compressor’s compression chamber (which is designed only for vapor), leading to immediate mechanical failure.
To get the charge exactly right, professional installers use digital manifolds to measure precise pressure and temperature readings. They calculate the exact “subcooling” or “superheat” values based on the outdoor ambient temperature and indoor wet-bulb temperature, ensuring the system runs exactly as the manufacturer intended. This level of precision is critical, especially when you consider that 19 percent of central AC systems purchased between 2009 and 2024 encountered at least one major performance problem, with incorrect charging being a primary culprit.
Ductwork Integrity, Static Pressure, and Airflow Balancing
Your air conditioner can only perform as well as the delivery system carrying the air throughout your home. This is why evaluating and optimizing your ductwork is a crucial part of a high-quality installation.
Before installing a new AC, a professional contractor will measure the total static pressure of your duct system using a specialized tool called a manometer. Static pressure is essentially the resistance to airflow within the ducts—think of it like blood pressure for your heating and cooling system.
If the static pressure is too high (usually due to undersized or restricted ducts), your system’s blower motor will have to work twice as hard to push air through the home. This leads to weak airflow, noisy grilles, and premature motor failure. If you are in the planning stages of a new system, reading up on Choosing the Right AC System: Factors to Consider can help you understand how ductwork compatibility plays into your equipment choices.
The Impact of Leaky Ducts on Efficiency and Air Quality
Duct leakage is one of the most common and expensive problems in residential HVAC systems. According to the U.S. Department of Energy, leaky ductwork can waste 20% to 30% of your cooling energy.
Imagine paying to cool your home, only for a quarter of that chilled air to escape into your attic or crawlspace before it ever reaches your living areas.
Beyond wasting energy, leaky ducts severely impact your indoor air quality. When the system turns on, return air leaks can pull dust, mold spores, insulation fibers, and outdoor humidity from unconditioned spaces directly into your breathing air.
A high-quality installation separates itself by ensuring all duct joints, boots, and seams are thoroughly sealed using a professional-grade, fiber-reinforced mastic sealant (often referred to in the trade as “pookie”). Standard silver duct tape dries out, cracks, and fails within a few years, whereas mastic creates a permanent, airtight seal.
Proper airflow balancing also ensures that supply and return air are evenly distributed. This eliminates the common issue of hot spots and temperature inconsistencies—such as a living room that feels like an icebox while the upstairs bedrooms remain uncomfortably warm.
Warning Signs: What Separates a Good AC Installation from a Bad One
If you have recently had a new air conditioner installed, or if you are evaluating an existing system, there are several clear warning signs that point to a poor installation.
Understanding these red flags can help you address issues before they lead to expensive repairs. For more insights on how quality workmanship protects your wallet, read about How Proper AC Installation Prevents Future Repairs.
Key warning signs of a bad installation include:
- Uneven Cooling: Significant temperature differences between rooms or floors.
- Excessive Noise: Loud whistling, rattling, or banging coming from the ducts or outdoor unit.
- Unusually High Utility Bills: A new, high-efficiency system that costs more to run than your old, broken-down unit.
- Frequent Repairs: Needing professional service or refrigerant top-offs within the first two years of ownership.
- Short Cycling: The outdoor unit turning on and off every few minutes.
Why Drainage and Electrical Precision is What Separates a Good AC Installation from a Bad One
Two often-overlooked areas where bad installations frequently show up are condensate drainage and electrical connections.
As your AC cools the air, it condenses a massive amount of moisture out of the indoor humidity—sometimes up to several gallons of water per day. This water must be safely drained away from your home.
A high-quality installation requires the condensate drain line to be pitched with a continuous downward slope of at least 1/4 inch per foot. The line must also include a properly designed P-trap to prevent sewer gases or conditioned air from escaping, and a secondary drain pan equipped with an emergency float switch. If the primary drain line ever clogs, the float switch will instantly shut down the system before water overflows and ruins your ceiling or drywall.
On the electrical side, loose connections or improperly sized components create major safety and reliability hazards. Installers must match the circuit breaker and wiring size to the electrical specifications on the unit’s nameplate. Using an incorrect breaker or reusing a worn-out electrical disconnect box can lead to high capacitor stress, frequent breaker trips, and potential electrical fires.
Finally, the outdoor unit must be perfectly level and mounted on a stable concrete or composite pad equipped with rubber vibration isolation pads to prevent annoying hums and vibrations from transferring into your home’s structure.
Thermostat Placement and Calibration: Avoiding False Readings
The thermostat is the brain of your cooling system, but it can only make smart decisions if it is installed in the correct location.
A common mistake in poor installations is placing the thermostat on an exterior wall, near a drafty window, in direct sunlight, or too close to a supply air register or heat-producing appliance. These placements cause the thermostat to read false temperatures, leading to improper system cycling.
A good installation ensures the thermostat is mounted on a centrally located interior wall, away from direct drafts and heat sources. It must also be properly calibrated to ensure accurate temperature sensing.
Upgrading to a smart or programmable thermostat during your installation and setting it correctly can reduce your cooling costs by about 10 percent. Modern systems designed to meet Energy Star guidelines have a minimum SEER of 15, which is at least 20 percent more efficient than minimum-efficiency models made just a decade ago. Proper thermostat placement ensures you actually realize these energy savings.
Protecting Your Investment: Warranties and Commissioning
A high-quality installation does not end when the system turns on and blows cold air. The final, critical phase is the commissioning process.
Commissioning is a comprehensive series of tests performed while the system is running under load. The technician measures and records actual voltage, amp draw, static pressure, airflow, and temperature splits across the indoor coil. These readings are documented in a formal commissioning report.
This documentation is vital for protecting your manufacturer warranty. Most major HVAC manufacturers require proof that the system was installed and commissioned by a licensed professional according to their strict specifications. If a major component like the compressor fails within the warranty period, the manufacturer may deny your claim if you cannot provide documentation showing that the system was installed correctly.
Taking the time to Prepare Your Home for a New HVAC System Setup ensures your installation team has clear, unimpeded access to perform these vital commissioning tests.
Frequently Asked Questions about AC Installation Quality
How long should a properly installed AC unit last?
With a high-quality installation and routine annual maintenance, a modern central air conditioner should last 15 to 25 years. A poor installation can cut that lifespan in half, often resulting in major component fatigue and system failure between years 8 and 12.
Can a bad installation void my manufacturer warranty?
Yes. Manufacturers require their equipment to be installed by licensed, certified HVAC professionals in strict accordance with their installation manuals. If a system failure is traced back to an installation error—such as an unevacuated refrigerant line or incorrect electrical wiring—the manufacturer will likely deny warranty coverage.
What are the most common installation mistakes?
The most common mistakes include:
- Incorrect Sizing: Guessing capacity based on square footage instead of performing a Manual J load calculation.
- Unsealed Ductwork: Leaving duct joints unsealed, wasting 20% to 30% of your cooling energy.
- Improper Refrigerant Charge: Charging by “feel” rather than using digital manifolds to measure exact subcooling and superheat.
- Poor Drainage: Failing to properly slope the condensate line or omitting a secondary safety float switch.
- Faulty Electrical Connections: Reusing undersized breakers or failing to properly ground the unit.
Conclusion
At Speer Air, we have been keeping families comfortable in Northern New Jersey since 1900. Over our 120+ year history, we have transitioned from original coal and oil heating to today’s highly advanced, energy-efficient cooling systems. Our deep industry roots, NATE-certified technicians, and status as a Carrier Factory Authorized Dealer and Generac® Dealer mean we never take shortcuts on installation day.
Whether you live in Rockaway, Denville, or anywhere else in Morris County, we are committed to delivering the technical precision your home deserves. Don’t leave your comfort to chance or rely on contractors who cut corners. Learn more about what to look for in our guide on Choosing Your HVAC Contractor.
Ready to experience the difference that a truly professional installation makes? Schedule your professional AC installation with Speer Air today and ensure your home stays cool, efficient, and comfortable for decades to come.